

Hey there! As a supplier of DC coolers for cars, I get a ton of questions from folks about how easy it is to install these nifty gadgets. So, I thought I'd sit down and write this blog to break it all down for you.
Let's start with the basics. A DC cooler for a car is a game - changer, especially if you're someone who loves long road trips, camping, or you just want to keep your drinks and snacks cold on your daily commute. These coolers run on direct current (DC), which means they can be powered by your car's battery. This is super convenient because you don't have to rely on traditional power sources.
Now, to the big question: is it easy to install a DC cooler for a car? Well, the answer mostly depends on a few factors.
The Type of DC Cooler
There are different types of DC coolers out there. Some are small, portable units that you can just plug into your car's cigarette lighter socket. These are the easiest to install. All you have to do is find an open socket, plug in the cooler, and you're good to go! It's like plugging in your phone charger. For instance, if you have a small cooler that's meant to keep a few cans of soda cold, it'll likely come with a standard 12 - volt plug that fits right into the socket.
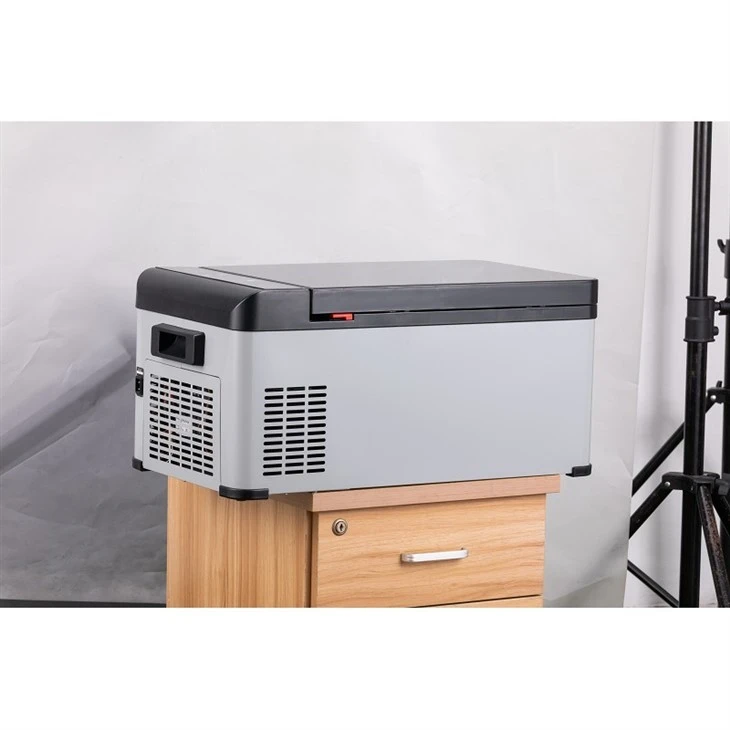
On the other hand, there are larger DC coolers, like the 12 Volt 50L Off Road Fridge Freezer. These bigger units might require a bit more work. They usually need to be wired directly to your car's battery because the power drawn from the cigarette lighter socket may not be enough to run them efficiently. When you're wiring to the battery, you need to make sure you do it safely. You'll want to isolate the positive wire with a fuse to prevent any short - circuits. And of course, you have to be careful not to mix up the positive and negative terminals.
Your Car's Setup
Another thing that affects the installation process is your car's setup. Different cars have different electrical systems and layouts. Some cars have easy - to - access battery areas, while others might have the battery hidden away or require you to remove a bunch of parts to get to it.

If you have an older car, the wiring might be a bit more complex or in a worse condition. You might need to clean the battery terminals before connecting the cooler to ensure a good connection. Newer cars, on the other hand, often come with added safety features and better - organized electrical systems, which can make the installation a bit smoother.
Tools and Skill Level
The tools you have on hand and your skill level also play a huge role. If you're handy with basic tools like screwdrivers, pliers, and wire cutters, installing a DC cooler won't be much of a challenge. But if you're not used to working with electrical systems, it might seem a bit daunting at first.
For simple plug - and - play coolers, you don't really need any tools. But for more complex installations like wiring a large cooler to the battery, you'll need some basic electrical tools. You should also have a basic understanding of how car electrical systems work. If you're not confident, it's always a good idea to get help from a professional mechanic. They'll make sure the installation is done right and safely.
Step - by - Step: Simple Plug - and - Play Installation
Let's say you've got one of those small, plug - and - play DC coolers. Here's how easy the installation process is:
- First, find an open cigarette lighter socket in your car. This is usually located on the dashboard or near the center console.
- Take the power cord of your cooler, which should have a standard 12 - volt plug at the end.
- Plug the cord into the socket firmly. You might hear a slight click when it's properly inserted.
- Once it's plugged in, turn on the cooler according to the manufacturer's instructions. Usually, there'll be a simple on/off switch on the cooler.
- Wait a few minutes for the cooler to start cooling. You'll notice the temperature inside dropping, and soon you'll have cold drinks or snacks.
Step - by - Step: Wiring to the Battery
If you're installing a larger cooler that needs to be wired to the battery, here's a rough guide:
- Turn off the Car: Before you start any work on the electrical system, make sure your car is turned off and the keys are out of the ignition. This is for your safety.
- Locate the Battery: Find your car's battery. In most cars, it's in the engine compartment, but in some, it might be under the seat or in the trunk.
- Prepare the Wires: Cut the appropriate length of wire for your cooler. You'll need a positive and a negative wire. Make sure to strip a small amount of insulation from the ends of the wires.
- Connect the Fuse: Attach a fuse to the positive wire. This will protect your car's electrical system in case of a short - circuit.
- Connect the Wires to the Battery: Connect the positive wire to the positive terminal of the battery and the negative wire to the negative terminal. Use appropriate connectors, like ring terminals, and tighten them securely.
- Route the Wires: Carefully route the wires from the battery to where you want to place the cooler. Make sure the wires are not in a position where they can get pinched or damaged.
- Connect to the Cooler: Finally, connect the wires to the corresponding terminals on your cooler.
Other Considerations
When installing a DC cooler, it's also important to think about where you're going to place it in your car. You want to make sure it's in a stable position so it doesn't move around while you're driving. You also need to ensure there's enough ventilation around the cooler. Blocking the ventilation can cause the cooler to overheat and not work properly.
If you're using a cooler like the 12V 240V Caravan Fridge Freezer, which can be used in a caravan as well as a car, you need to consider the different power sources. When using it in the caravan, you might need to connect it to the caravan's electrical system, which could have different requirements.
And for those with trucks, the 12 Volt Refrigerator For Trucks is a great option. Trucks often have more space, but the installation might still need some thought. You need to make sure the cooler is securely mounted so it doesn't shift during the bumpy rides that trucks often experience.
Conclusion
So, to sum it up, installing a DC cooler for a car can be easy or a bit more challenging depending on the type of cooler, your car's setup, your tools, and your skill level. Simple plug - and - play coolers are a breeze to install, while larger units that need to be wired to the battery require a bit more work.
If you're thinking about getting a DC cooler for your car, don't let the installation process scare you off. With a bit of research and maybe some help from a professional, you can have a cold and refreshing ride in no time.
If you're interested in purchasing a high - quality DC cooler for your car, we're here to help. We offer a wide range of coolers to suit different needs and budgets. Whether you're looking for a small, portable cooler or a large fridge - freezer, we've got you covered. Reach out to us to start a conversation about your requirements and get the best deal on a DC cooler for your car.
References
- General knowledge of automotive electrical systems and DC cooler technology.
- Manufacturer manuals for the mentioned DC coolers.


