

Hey there, fellow RV enthusiasts! As a supplier of RV Air Condition, I've seen firsthand how important it is to properly winterize your RV air conditioner. This not only ensures its longevity but also saves you a ton of headaches and potentially costly repairs down the line. In this blog post, I'll walk you through the steps to winterize your RV air conditioner like a pro.
Why Winterize Your RV Air Conditioner?
Before we dive into the how-to, let's talk about why winterizing is so crucial. When the temperatures drop, moisture can accumulate inside your air conditioner. If this moisture freezes, it can cause significant damage to the unit's components, such as the coils, fans, and compressor. By winterizing your RV air conditioner, you're protecting it from the harsh winter elements and ensuring it's in top shape when the warm weather rolls around again.

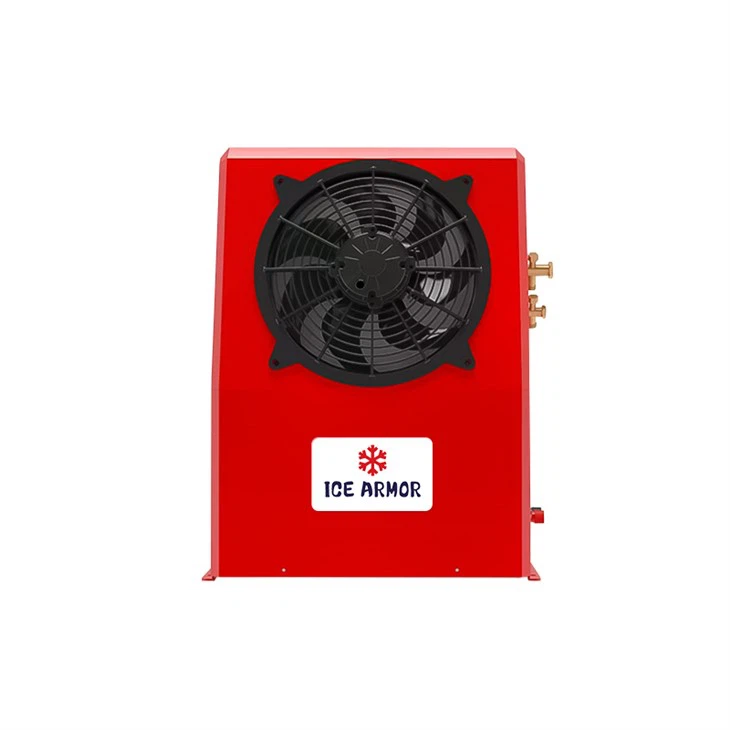
Step 1: Clean the Exterior
The first step in winterizing your RV air conditioner is to give it a good cleaning. Start by removing any debris, leaves, or dirt from the exterior of the unit. You can use a soft brush or a vacuum cleaner with a brush attachment to gently clean the fins and the grille. Make sure to get into all the nooks and crannies to remove any stubborn dirt.
Next, use a mild detergent and water solution to clean the exterior of the unit. Avoid using harsh chemicals or abrasive cleaners, as these can damage the finish of the air conditioner. Rinse the unit thoroughly with clean water and let it dry completely before moving on to the next step.
Step 2: Remove the Filters
The filters in your RV air conditioner play a crucial role in keeping the air clean and free of dust and debris. Over time, these filters can become clogged with dirt and require cleaning or replacement. Before winterizing your air conditioner, remove the filters and clean them according to the manufacturer's instructions.
If the filters are heavily soiled or damaged, it's a good idea to replace them with new ones. This will ensure that your air conditioner operates efficiently when you use it again in the spring. Once the filters are clean or replaced, store them in a clean, dry place until you're ready to reinstall them.
Step 3: Protect the Unit
Once the exterior of the air conditioner is clean and the filters are removed, it's time to protect the unit from the winter elements. One of the best ways to do this is to cover the air conditioner with a specially designed RV air conditioner cover. These covers are made of durable materials that are resistant to water, snow, and UV rays.
When choosing a cover, make sure it's the right size for your air conditioner. A cover that's too small won't provide adequate protection, while a cover that's too large may not fit properly and could allow moisture to seep in. Follow the manufacturer's instructions to properly install the cover, making sure it's securely fastened.
Step 4: Disconnect the Power
Before you do anything else, it's important to disconnect the power to your RV air conditioner. This will prevent any electrical issues and ensure your safety while you're working on the unit. Locate the circuit breaker or fuse box that controls the air conditioner and turn off the power. You can also unplug the air conditioner from the electrical outlet if it's a portable unit.
Once the power is disconnected, label the circuit breaker or fuse box to indicate that the air conditioner is off. This will prevent anyone from accidentally turning the power back on while you're working on the unit.
Step 5: Drain the Water
Moisture can accumulate inside your RV air conditioner during normal operation, and if this water freezes, it can cause damage to the unit. To prevent this, you need to drain the water from the air conditioner. Start by locating the condensate drain pan or tube. This is usually located at the bottom of the unit.
Use a wet/dry vacuum or a small pump to remove any water from the drain pan or tube. Make sure to get all the water out, as even a small amount of water can cause problems. Once the water is drained, use a clean cloth to dry the drain pan and tube thoroughly.
Step 6: Lubricate the Moving Parts
Over time, the moving parts in your RV air conditioner can become dry and start to wear out. To prevent this, it's a good idea to lubricate the moving parts before winterizing the unit. You can use a lightweight machine oil or a silicone-based lubricant to lubricate the fan motor, the compressor, and any other moving parts.
Follow the manufacturer's instructions to apply the lubricant to the appropriate parts. Be careful not to over-lubricate, as this can cause problems with the operation of the unit. Once the moving parts are lubricated, let the unit sit for a few minutes to allow the lubricant to penetrate.
Step 7: Inspect the Unit
Before you put the cover on and call it a day, take a few minutes to inspect the unit for any signs of damage or wear. Look for any cracks, leaks, or loose connections. Check the electrical wiring for any signs of fraying or damage. If you notice any problems, it's important to address them before winterizing the unit.
If you're not comfortable making repairs yourself, it's a good idea to call a professional RV technician. They can diagnose the problem and make the necessary repairs to ensure your air conditioner is in good working condition.
Step 8: Store the Unit Properly
Once you've completed all the steps above, it's time to store the unit properly. If you're storing your RV in a garage or a storage facility, make sure the air conditioner is protected from any potential damage. You can use a padded cover or a storage container to protect the unit.
If you're storing your RV outdoors, make sure the air conditioner is covered with a weatherproof cover and that it's elevated off the ground to prevent water from pooling around the unit. You may also want to consider using a dehumidifier in the storage area to prevent moisture from accumulating.
Conclusion
Winterizing your RV air conditioner is an important part of maintaining your RV and ensuring its longevity. By following these steps, you can protect your air conditioner from the harsh winter elements and ensure it's in top shape when you're ready to hit the road again.
If you have any questions or need further assistance with winterizing your RV air conditioner, don't hesitate to reach out to us. As a leading supplier of RV Air Condition, we have the expertise and the products to help you keep your RV air conditioner running smoothly. We also offer a wide range of Car Air Condition and Vehicle Air Conditioner products to meet your needs.
So, what are you waiting for? Take the time to winterize your RV air conditioner today and enjoy peace of mind knowing that your unit is protected. And if you're in the market for a new RV air conditioner or need to replace any parts, be sure to check out our website for the latest products and deals.
References
- RV Maintenance and Repair Guide
- Air Conditioner Manufacturer's Manuals


