

Hey there, fellow RV enthusiasts! I'm an RV Air Condition supplier, and I know how frustrating it can be when your RV air conditioner starts leaking. But don't worry, I'm here to walk you through the steps to repair it.
Understanding the Problem
First things first, we need to figure out why your RV air conditioner is leaking. There are a few common reasons for this issue.

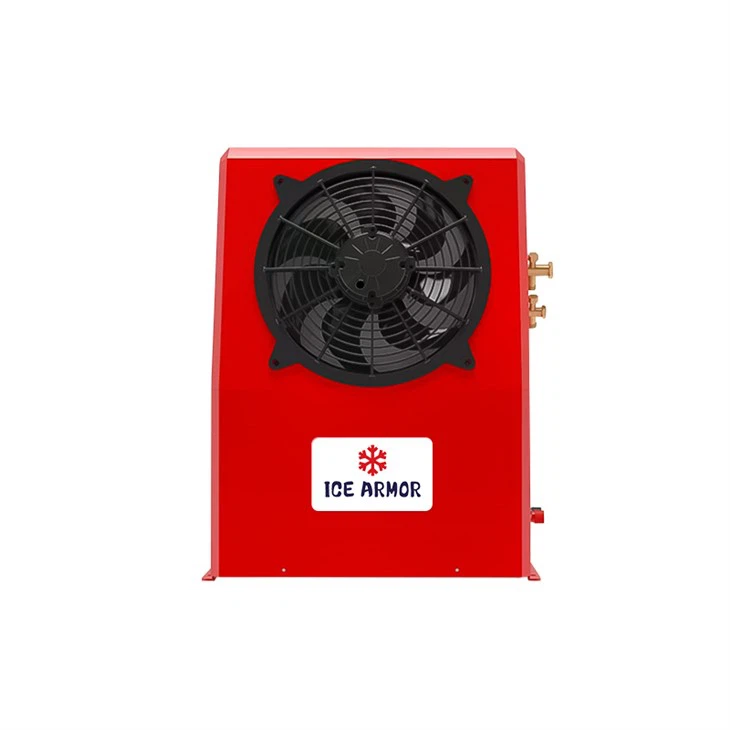
One of the most common causes is a clogged condensate drain. The air conditioner produces water as it cools the air, and this water is supposed to drain out through a tube. If the drain gets clogged with dirt, debris, or algae, the water can back up and start leaking inside your RV.
Another possible cause is a damaged or misaligned drain pan. The drain pan is designed to catch the water from the condensate drain and direct it out of the RV. If the pan is cracked, dented, or not properly installed, it can cause water to leak.
A refrigerant leak can also lead to water leakage. When the refrigerant level is low, the evaporator coil can freeze up, and when the ice melts, it can cause water to drip inside the RV.
Tools and Materials You'll Need
Before you start the repair process, you'll need to gather a few tools and materials. Here's a list of what you'll need:
- Screwdriver set
- Pliers
- Vacuum cleaner
- Pipe cleaner or small brush
- Condensate drain cleaner (you can find this at most hardware stores)
- Sealant or silicone caulk
- Replacement parts (if necessary), such as a new drain pan or condensate drain tube
Step-by-Step Repair Process
Step 1: Turn Off the Power
Safety first! Before you start working on your RV air conditioner, make sure to turn off the power at the breaker box or disconnect the battery. This will prevent any electrical shocks while you're working.
Step 2: Remove the Access Panel
Locate the access panel on your RV air conditioner. This is usually on the outside of the RV. Use a screwdriver to remove the screws holding the panel in place and carefully set it aside.
Step 3: Check the Condensate Drain
Once you have access to the inside of the air conditioner, look for the condensate drain tube. It's usually a small plastic tube that runs from the bottom of the unit to the outside of the RV. Use a vacuum cleaner to suck out any dirt or debris that may be clogging the drain. You can also use a pipe cleaner or small brush to gently clean the inside of the tube.
If the clog is stubborn, you can try using a condensate drain cleaner. Follow the instructions on the cleaner carefully and let it sit in the drain for the recommended amount of time before flushing it out with water.
Step 4: Inspect the Drain Pan
Check the drain pan for any cracks, dents, or signs of damage. If you find any issues, you may need to replace the drain pan. To remove the old drain pan, use a screwdriver to remove the screws holding it in place. Carefully lift out the old pan and place the new one in its place, making sure it's properly aligned.
If the drain pan is just dirty, you can clean it with a mild detergent and water. Rinse it thoroughly and let it dry before reinstalling it.
Step 5: Check for Refrigerant Leaks
If you suspect a refrigerant leak, it's best to call a professional HVAC technician. Refrigerant is a dangerous substance, and handling it requires special training and equipment. A technician will be able to locate the leak and repair it safely.
Step 6: Reassemble the Air Conditioner
Once you've completed all the necessary repairs, it's time to reassemble the air conditioner. Replace the access panel and secure it with the screws. Make sure all the connections are tight and there are no loose parts.
Step 7: Test the Air Conditioner
Turn the power back on and test the air conditioner to make sure it's working properly. Check for any signs of leakage or unusual noises. If everything seems to be in order, you're good to go!
Preventive Maintenance Tips
To avoid future leaks, it's important to perform regular maintenance on your RV air conditioner. Here are some tips:
- Clean the air filter regularly. A dirty filter can restrict airflow and cause the air conditioner to work harder, which can lead to problems.
- Inspect the condensate drain and drain pan at least once a year. Clean them if necessary to prevent clogs.
- Keep the area around the air conditioner clean and free of debris. This will help prevent dirt and leaves from getting into the unit.
Conclusion
Repairing a leaking RV air conditioner may seem like a daunting task, but with the right tools and a little know-how, you can do it yourself. By following the steps outlined in this blog post, you can save money on repair costs and keep your RV cool and comfortable on your next adventure.
If you have any questions or need further assistance, feel free to contact us. We're here to help! And if you're in the market for a new RV Air Condition, Vehicle Air Conditioner, or Car Air Condition, be sure to check out our website for a wide selection of high-quality products.
References
- "RV Air Conditioner Maintenance Guide" - RV Lifestyle Magazine
- "How to Troubleshoot an RV Air Conditioner" - Camping World


