

Hey there, fellow RV enthusiasts! If you're like me, you know that having a good air conditioner in your RV can make all the difference between a sweltering, miserable trip and a cool, comfortable adventure. Today, I'm gonna walk you through how to install a ducted RV air conditioner. And by the way, I'm from an RV Air Condition supplier, so I've got some insider tips to share with you.
Why Choose a Ducted RV Air Conditioner?
First off, let's talk about why you might want a ducted air conditioner for your RV. Unlike a non - ducted unit, a ducted RV air conditioner distributes cool air evenly throughout your rig. This means no more hot spots in the back or stuffy corners. You'll get a more consistent temperature, which is super important for a comfy living space on the road.
If you're interested in learning more about the different types of air conditioners we offer, check out our RV Air Condition page. We've got a variety of options to suit your needs.
What You'll Need
Before you start the installation process, you'll need to gather a few tools and materials. Here's a quick list:
- Tools:
- Screwdriver set (both Phillips and flat - head)
- Drill with various drill bits
- Wrench set
- Tin snips
- Measuring tape
- Sealant gun
- Wire strippers
- Materials:
- Ducted RV air conditioner unit
- Ductwork
- Insulation
- Electrical wire
- Mounting brackets
- Sealant
Step 1: Choose the Right Location
The first step in installing your ducted RV air conditioner is to pick the right spot on your RV's roof. You want a location that's relatively flat and free of any obstructions. Also, make sure it's close to where you'll be running the ductwork inside the RV.
Most ducted air conditioners are designed to be installed on the roof, similar to a Rooftop Air Conditioner. This allows for efficient cooling and proper ventilation.
Once you've found the perfect spot, measure the area to ensure it's the right size for your air conditioner unit. Use your measuring tape to double - check the dimensions provided in the unit's installation manual.
Step 2: Prepare the Roof
After you've chosen the location, it's time to prep the roof. Start by cleaning the area thoroughly. Remove any dirt, debris, or old sealant. This will ensure a good seal when you install the air conditioner.
Next, mark the outline of the air conditioner unit on the roof using a marker or chalk. Then, use your tin snips to carefully cut out the opening in the roof. Be extra careful not to cut too large or too small.
Step 3: Install the Mounting Brackets
Once the opening is cut, it's time to install the mounting brackets. These brackets will hold the air conditioner unit securely in place on the roof.
Place the brackets around the opening and use your drill to attach them to the roof. Make sure they're level and evenly spaced. You might need to use a wrench to tighten the bolts.

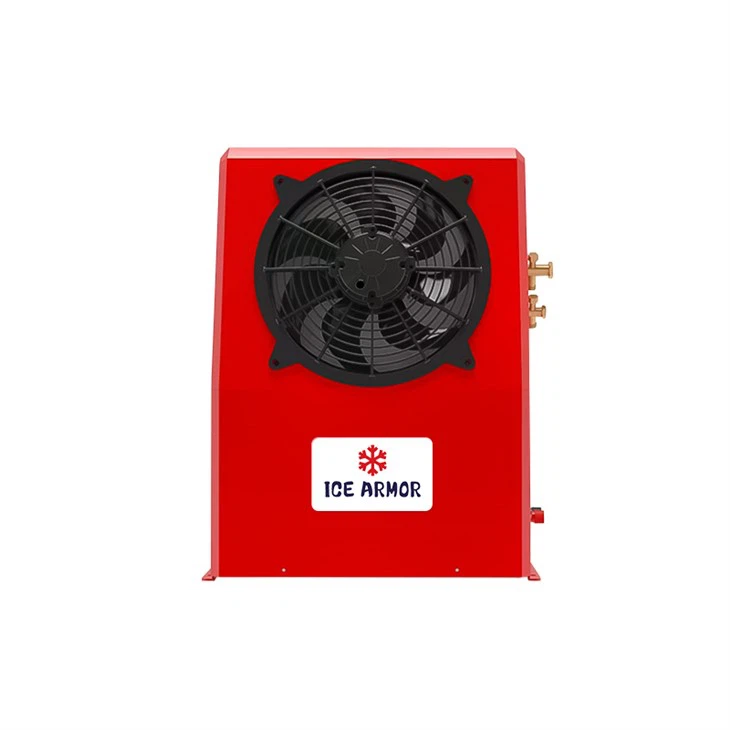
Step 4: Install the Air Conditioner Unit
Now comes the fun part - installing the air conditioner unit itself. Lift the unit onto the roof and carefully lower it into the opening. Align it with the mounting brackets and use your screwdriver to secure it in place.
Connect the electrical wires according to the wiring diagram in the installation manual. Use your wire strippers to strip the ends of the wires and then connect them using wire nuts. Make sure all the connections are tight to avoid any electrical issues.
Step 5: Install the Ductwork
After the air conditioner is installed on the roof, it's time to work on the ductwork inside the RV. Start by measuring and cutting the ductwork to fit the layout of your RV. You can use your tin snips to cut the ductwork to the right length.
Connect the ductwork to the air conditioner unit and secure it with duct tape or clamps. Make sure the connections are airtight to prevent any cool air from leaking.
Step 6: Insulate the Ductwork
Insulating the ductwork is an important step to keep the cool air inside the ducts and prevent it from escaping. Wrap the insulation around the ductwork and secure it with tape. This will also help reduce noise from the air flowing through the ducts.
Step 7: Seal the Roof
Once the air conditioner unit and ductwork are installed, it's time to seal the roof. Use your sealant gun to apply a generous amount of sealant around the edges of the air conditioner unit. This will prevent water from leaking into the RV.
Make sure to smooth out the sealant with a putty knife for a clean finish. Let the sealant dry completely before moving on to the next step.
Step 8: Test the Air Conditioner
Before you hit the road, it's crucial to test your newly installed air conditioner. Turn on the power and set the thermostat to a cool temperature. Listen for any unusual noises and check to make sure the air is flowing through the ducts properly.
If you notice any issues, refer to the troubleshooting section in the installation manual or give us a shout. We're here to help you get your RV air conditioner up and running smoothly.
Step 9: Final Checks
Once the air conditioner is running, do a final check of all the connections and components. Make sure all the screws are tightened, the wires are secure, and the ductwork is properly installed.
Also, check for any signs of leaks or damage. If everything looks good, you're all set to enjoy a cool and comfortable RV trip.
Conclusion
Installing a ducted RV air conditioner might seem like a daunting task, but with the right tools, materials, and a little bit of know - how, you can do it yourself. And if you ever need more information or have any questions, feel free to visit our RV Air Condition page.
We're an RV Air Condition supplier, and we've got a wide range of products to meet your cooling needs. Whether you're looking for a ducted system or a Car Air Condition for your vehicle, we've got you covered.
If you're interested in purchasing an RV air conditioner or have any questions about our products, don't hesitate to reach out. We're here to help you make the right choice and ensure your RV is always cool and comfortable.
References
- RV Air Conditioner Installation Manuals
- Various RV Maintenance and Repair Guides


